CRANE BALL DRILLING FIXTURE Safety Instructions
Introduction
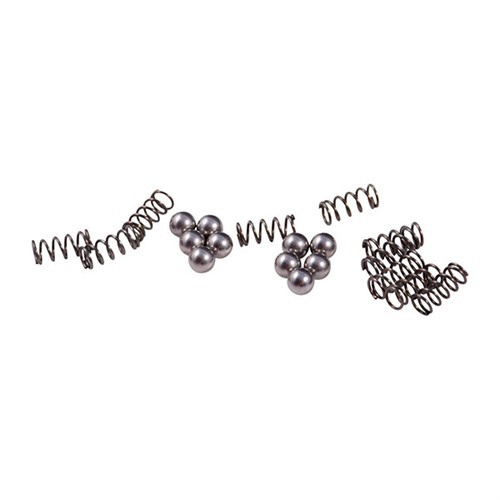
Thank you for choosing the CRANE BALL DRILLING FIXTURE for S&W POWER CUSTOM CRANE BALL & SPRING REFILL. This product is designed to enhance the functionality of Smith & Wesson K, L, and N Frame revolvers by allowing for the secure installation of a springloaded, locking ball in the cylinder crane. To ensure safe and effective use, please read and follow these safety instructions carefully.
General Safety Guidelines
- Ensure that all safety precautions are followed to prevent accidents and injuries.
- Always use the product in accordance with the manufacturer's instructions.
- Keep the product out of reach of children and vulnerable individuals.
- Regularly inspect the product for any wear or damage before use.
- If you experience any issues with the product, discontinue use immediately and seek assistance.
Specific Safety Precautions for Use
- Always wear appropriate personal protective equipment (PPE), such as safety goggles and gloves, when using the drilling fixture.
- Ensure that the work area is clean, dry, and welllit to prevent accidents.
- Secure the fixture properly before drilling to avoid movement during operation.
- Avoid using excessive force when drilling to prevent damage to the fixture or the revolver.
- Do not use the fixture for any purpose other than its intended use.
Instructions for Installation and Usage
Preparation:
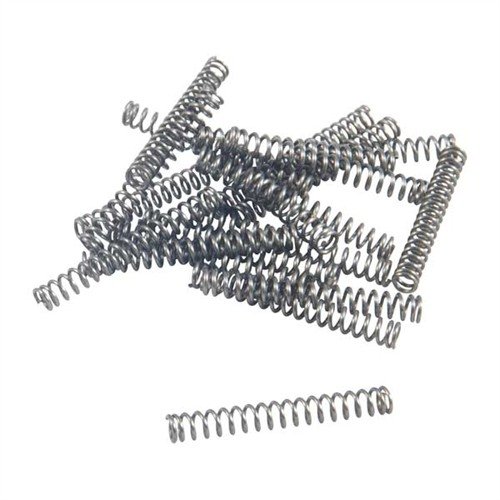
- Gather all necessary tools and materials, including the CRANE BALL DRILLING FIXTURE, No. 30 drill bit, locking balls, springs, and staking punch.
- Ensure that the revolver is unloaded and safe to work on.
Setting Up the Fixture:
- Place the steel fixture on a stable work surface.
- Insert the revolver's crane into the designated area of the fixture, ensuring it is securely held in place.
Drilling Process:
- Attach the No. 30 drill bit to your drill.
- Align the drill bit with the marked location on the crane.
- Begin drilling at a slow speed to ensure accuracy, gradually increasing speed as needed.
- Monitor the drilling process closely to ensure the hole is being drilled at the correct angle.
Inserting the Locking Ball and Spring:
- Once the hole is drilled, carefully insert the locking ball and spring into the newly created hole.
- Use the staking punch to secure the locking ball in place.
Final Checks:
- Inspect the installation to ensure everything is secure and functioning properly.
- Clean the work area and remove any debris.
Disposal Instructions
- Dispose of any unused or damaged components in accordance with local regulations.
- Ensure that all sharp objects, such as drill bits, are disposed of safely to prevent injury.
Contact Information for Further Support
For any inquiries regarding the CRANE BALL DRILLING FIXTURE, please refer to the manufacturer's contact information provided with the product packaging.
By following these safety instructions, you can ensure a safe and effective experience while using the CRANE BALL DRILLING FIXTURE. Thank you for prioritizing safety and compliance with the EU General Product Safety Regulation.