Help and contact
Attributes
- Make:
1911
- Model:
Government
,Commander
- Delivery weight: 0,023kg
- UPC: 874218000851
Item details
Made in USA

 (0)
(0) 

Prices incl. VAT, plus delivery
Product no.: 965315101
Mfr. No.: 315B
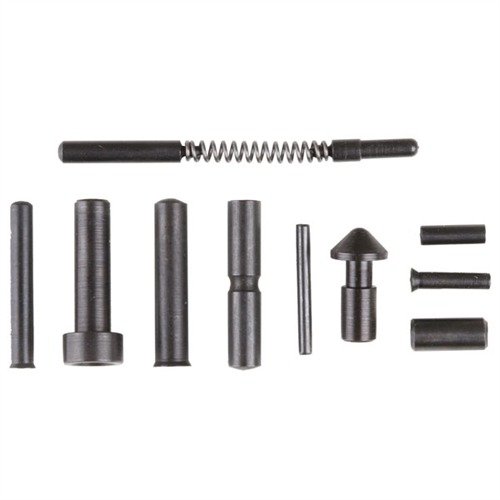
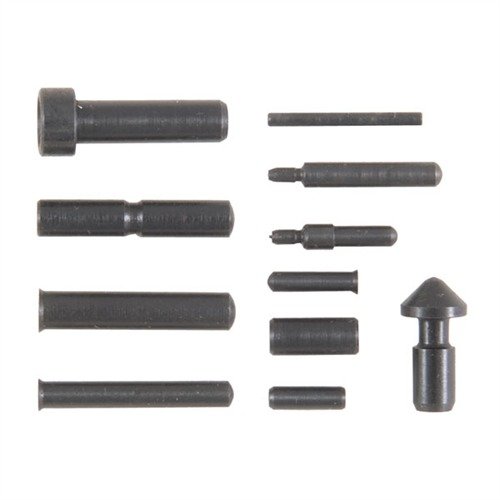
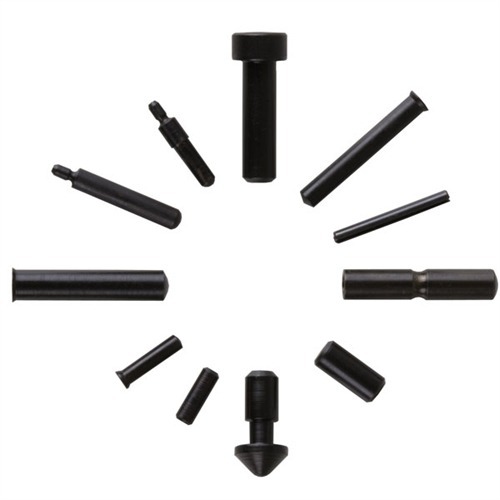
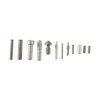
874218000851 High quality replacement pins for the 1911 Auto in a convenient, money-saving pak. Set of eleven pins.
Delivery time approx. 7-14 days.
5 pcs. in the USA warehouse
Prices incl. VAT, plus delivery
SPECS: Steel, heat-treated; available in blued or stainless. Pin Set contains one each; mainspring plunger, sear pin, ejector roll pin, mainspring housing pin, link pin, mainspring housing retainer, strut pin, mainspring plunger retainer, hammer pin, slide release plunger, thumb safety plunger.
1911
Government,
Commander
We encountered an error while loading this content. Please refresh the page to continue. If the issue persists, contact our customer support.
to Brownells Europe, your destination for anything gun related. With our roots in a genuine passion for firearms, we bring you an unmatched selection of Gun Parts, Firearm Accessories, Gunsmithing Tools, Scopes & Red Dot Sights and Expert Knowledge.
Whether you're looking to maintain, repair, or upgrade, we've got what you need!
For Shooters, By Shooters
We share your enthusiasm and know exactly what you're looking for because we're part of the community.
Massive Selection
From the essentials to the unique, find everything under one roof.
Our blend of tradition and innovation
Shop with the convenience of modern technology, backed by a legacy of experience.
Browse our collection and discover why we're the trusted name in shooting sports & hunting.


 Classical view
 Mobile view