Help and contact
Attributes
- Make:
1911
- Delivery weight: 0,113kg
- UPC: 841370108640
Item details
Made in USA

 (0)
(0) 

1911
Prices incl. VAT, plus delivery
Product no.: 296000123
Mfr. No.: 70550
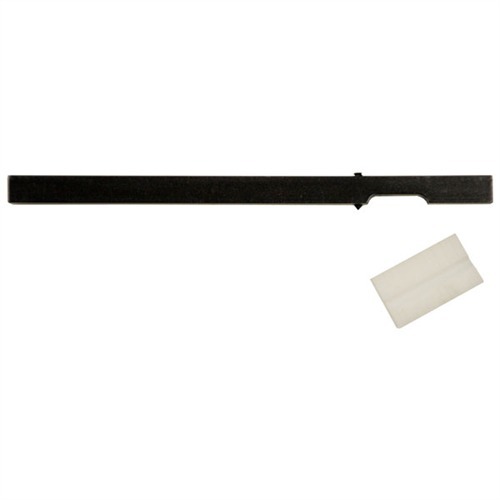
841370108640 Two-piece staking tool protects the plunger tube and surrounding frame area with a block of machined Delrin® while you spread the pins with the steel staking bar. Eliminates metal-on-metal contact on exterior surfaces to prevent scratches that can mar the pistol’s finish. Saves you time, too, because the staking bar has a cutout to clear the ejector, so you can stake the tube without having to remove it. The staking point is a hardened steel screw that lets you adjust the staking depth. When the point wears out, simply install a new screw (spare included) to make the tool good as new. Delrin block has cutouts to support both rounded and square plunger tubes; cuts are positioned so the block always rests on a flat side to provide full support.
Delivery time approx. 7-14 days.
8 pcs. in the USA warehouse
SPECS: Steel, black oxide finish, and machined Delrin.
1911
We encountered an error while loading this content. Please refresh the page to continue. If the issue persists, contact our customer support.
to Brownells Europe, your destination for anything gun related. With our roots in a genuine passion for firearms, we bring you an unmatched selection of Gun Parts, Firearm Accessories, Gunsmithing Tools, Scopes & Red Dot Sights and Expert Knowledge.
Whether you're looking to maintain, repair, or upgrade, we've got what you need!
For Shooters, By Shooters
We share your enthusiasm and know exactly what you're looking for because we're part of the community.
Massive Selection
From the essentials to the unique, find everything under one roof.
Our blend of tradition and innovation
Shop with the convenience of modern technology, backed by a legacy of experience.
Browse our collection and discover why we're the trusted name in shooting sports & hunting.


 Classical view
 Mobile view